|
59 INSTALLATION OF THE NEW MILLING MACHINE 2008/11/23
I had placed an order a milling machine on December 2007.
It took about half a year to prepare the installation after it bought it,
and it finally carried in May, 2008.
The installation was requested from a special agency since there are many
difficult points such as big weiht.
|
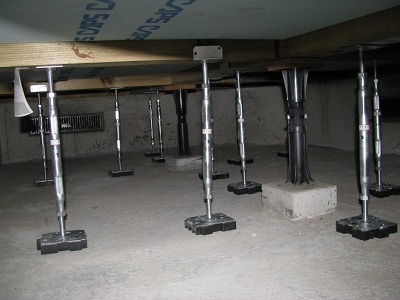 |
1. The weight of the new machine is around 330Kg so I decided to reinforce
the load bearing fo the workshop floor.
|
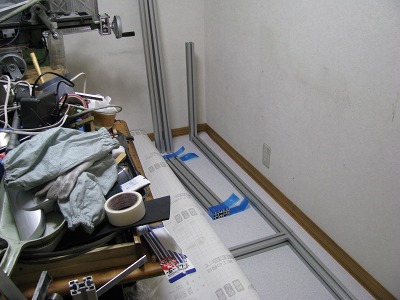 |
2. I have rearranged workshop.
45mm square aluminimu flame was used as a table flame.
|
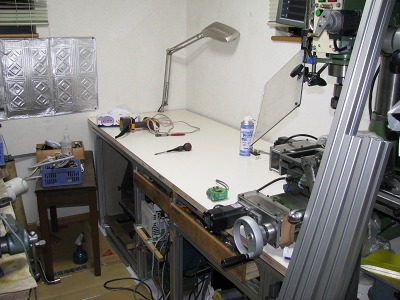 |
3. The space was reserved for the new machine.
The table consistus of aluminium flame and wood panel. |
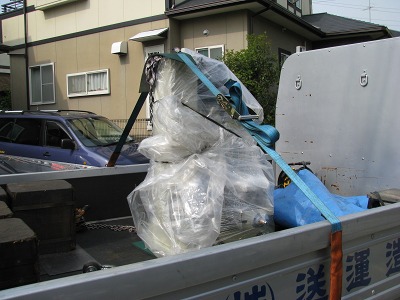 |
4. The machin is coming. |
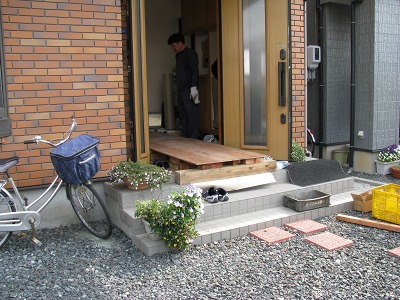 |
5. The workshop is located on the ground floor.
The wood panel is become a road for the machine movement. |
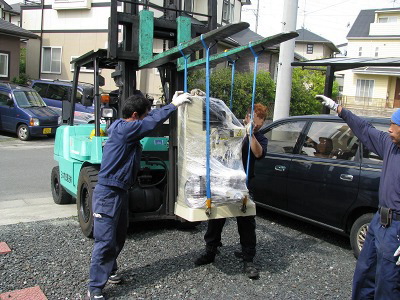 |
6.Unload the machine and it coming by a forklift. |
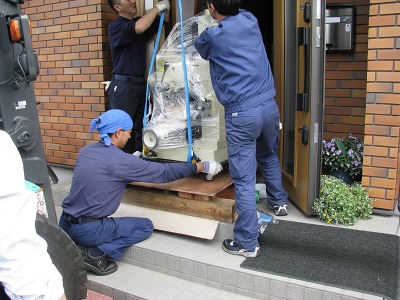 |
7. Than machine is arriving at the house door. |
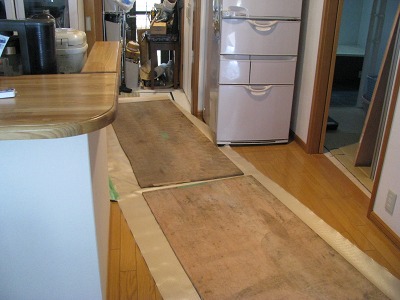 |
8. This wood panel is to prevent floor damage. |
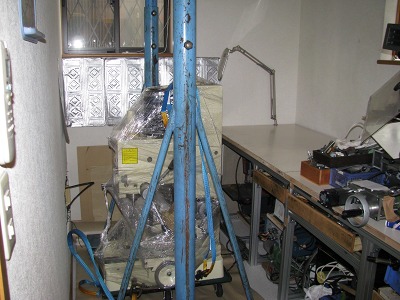 |
9. Install a support tower for pull up the machine. |
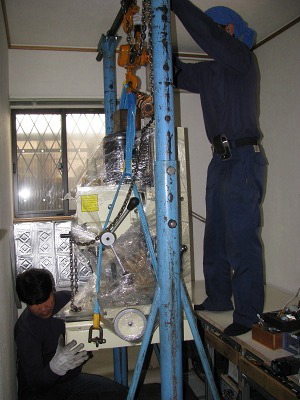 |
10. Pulling up the machine with a chain block. |
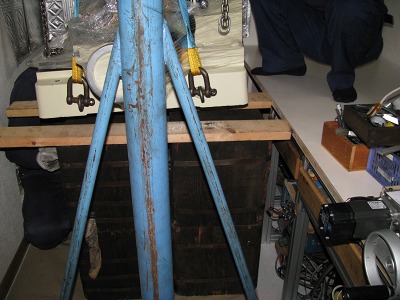 |
11.Put a big wook block under the machine and adjust the height wiht a
wood plate to the table top height.. |
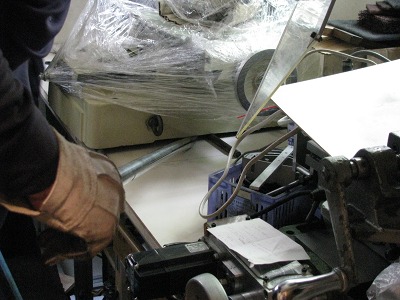 |
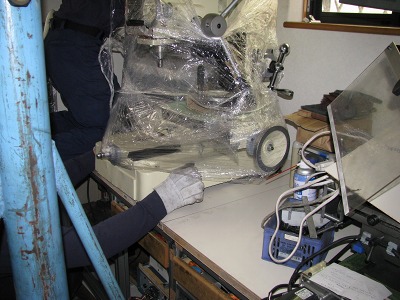
12. The milling machine is moving from wood block to the table with a round
bar. |
 |
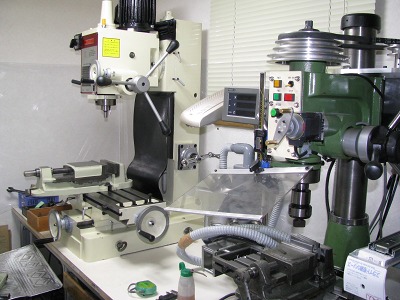
13. The milling machine had moved on the table. And adjusting the location
to the right point. |
 |
14. The inatalation was finished. |
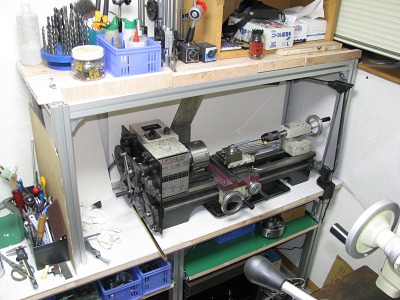 |
15. I rearrange the my workshop by using aluminium frame. This is a vew of the lathe setting on the new table. |
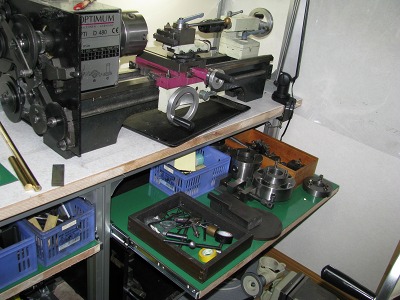 |
16. I have installed a slide board under the lathe table. This system is
effective for eliminate redundant storage space.
|
|
|
 |
|